
Natural Easter egg dye was one of those “why didn’t I do this sooner?” things for me. The first time I tried it, I skipped the dye kit and used red cabbage and blueberries from my kitchen.
My baby immediately tried to grab everything. I didn’t panic, because the dye was just food.
The colors surprised me. Soft blues, dusty purples, and that pretty, earthy look you can’t really get from store tablets.
In this guide, I’ll show you how to dye Easter eggs naturally without food coloring. You’ll get the exact steps, soak times for light vs. deep color, and a few clean store-bought dye options on Amazon if you want the easy route.
Why Dye Easter Eggs Naturally?
Most kids touch dyed eggs more than they actually eat them.
That means whatever is in the dye ends up on little hands, and little hands end up in mouths.
In the United States, the brightest food dyes are often FDA “certified colors” (FD&C colors).
These are synthetic colors regulated by the FDA, and they’re separate from “exempt” colors that are often derived from natural sources like vegetables and minerals.
California’s Office of Environmental Health Hazard Assessment reviewed evidence on synthetic dyes and noted that concerns often focus on neurobehavioral impacts in children, including attention and activity.
A 2022 review of human challenge studies and animal studies also concluded the literature supports an association between synthetic food dyes and behavioral impacts in children.
Also, dyeing eggs is supposed to be fun.
If swapping to food-based dyes removes the “should I worry about this?” feeling, that’s a win.
The Toxic Chemicals Hiding in Popular Easter Egg Dyes
I’m using “toxic” here the way most parents mean it in real life.
Ingredients you might choose to limit for kids, even if they’re legal to use.
Classic egg dye kits often rely on FDA-certified colors.
The FDA lists certified colors like Blue 1, Blue 2, Green 3, Red 40, Yellow 5, and Yellow 6, and explains how they must be declared on labels.
Even the FDA gives Yellow 5 as an example that may cause itching and hives in some people.
“Natural” isn’t automatically simple either.
The FDA notes that most exempt color additives can be listed under general terms, but carmine/cochineal must be identified by name because of potential allergic reactions in some people.
The good news is, regulations can change as new evidence and petitions are reviewed.
In January 2025, the FDA revoked authorization for FD&C Red No. 3 in foods and ingested drugs, with manufacturer compliance dates in 2027 and 2028.
In April 2025, the FDA also announced a national initiative to phase out petroleum-based synthetic dyes.
FDA tracking updates published in 2026 describe efforts to eliminate several remaining certified dyes by the end of 2027.

My Real-Life Results Testing Natural Egg Dyes
I tested several common kitchen ingredients while putting this guide together. I used both white and brown eggs to see how the colors changed.
Here’s what I noticed.
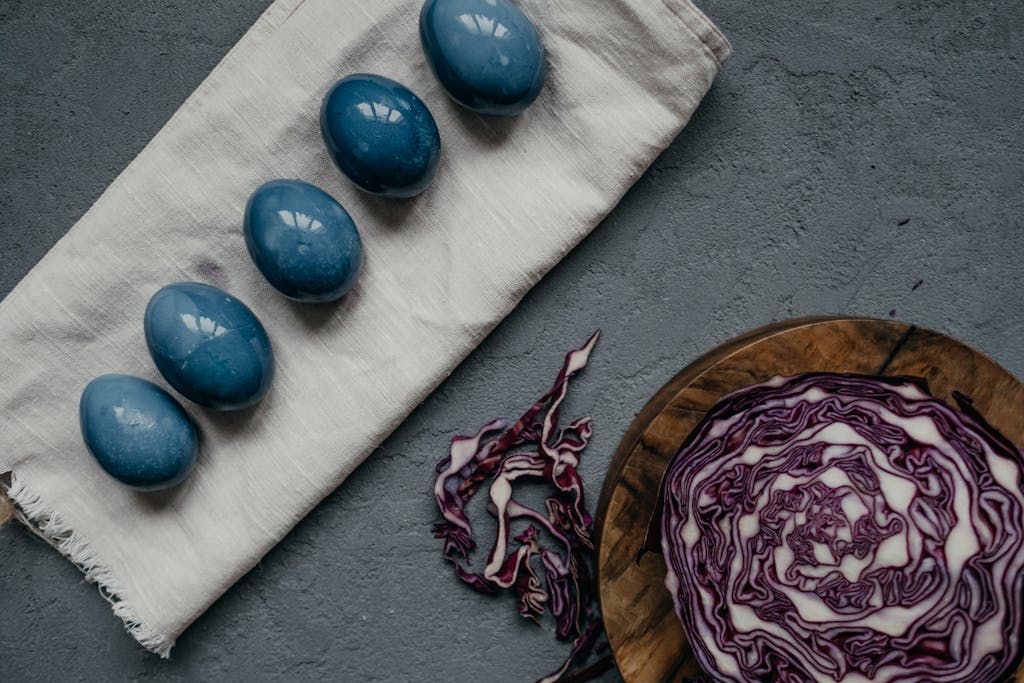
Red cabbage surprised me the most.
White eggs turned a soft sky blue after about 2 hours, while brown eggs developed a deeper slate blue.
Turmeric worked the fastest.
Even a short soak of about 10 minutes created a bright yellow tone on white eggs.
Onion skins gave the richest color overall.
After simmering and soaking overnight, the eggs turned a warm copper color that looked almost hand-painted.
One thing I learned quickly: natural dyes are unpredictable in the best way.
Each egg develops slightly different patterns, which honestly makes them more beautiful than perfectly uniform dye tablets.

What You’ll Need to Dye Easter Eggs Naturally
Natural dyes are more like tea than neon sports drink.
The color builds with time.
My basic dye formula
I use 2 cups chopped plant material (or 2 tablespoons spice) with 2 cups water.
I simmer 20–30 minutes, strain, then add 1 tablespoon white vinegar after it cools.
Why vinegar helps
Eggshells are mostly calcium carbonate.
The USDA egg grading manual notes calcium carbonate is about 94% of the dry shell.
Vinegar is acetic acid.
NOAA explains that acetic acid reacts with calcium carbonate and releases carbon dioxide, which is why you see bubbles.
In plain mom terms: vinegar slightly etches the shell so the color grabs better.
You don’t always need it, but it helps.
My most reliable colors (with real soak times)
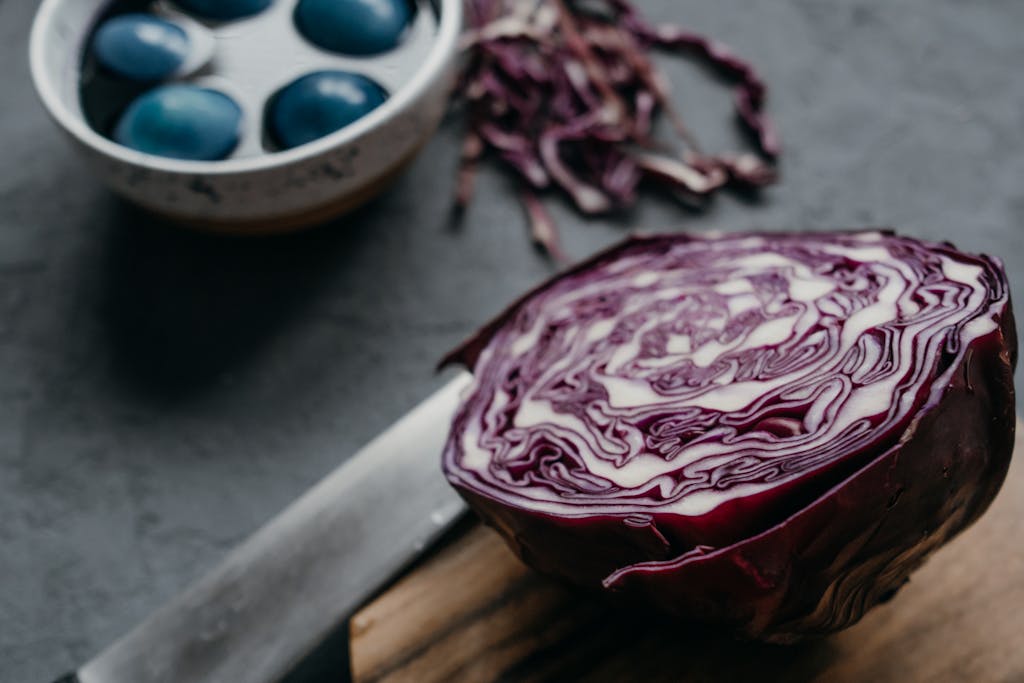
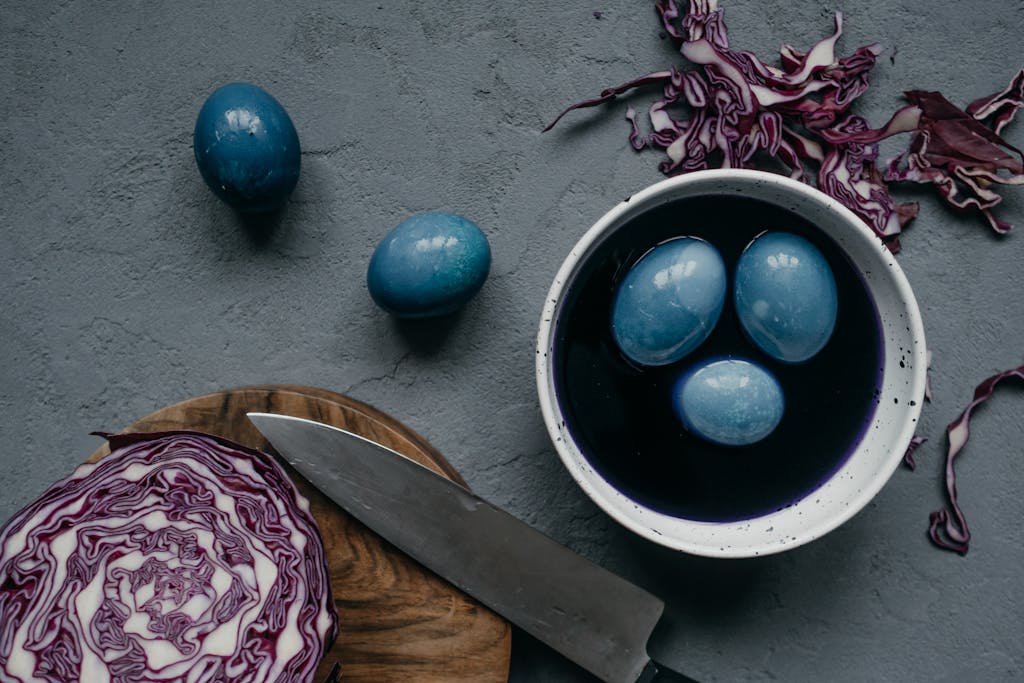
Blue: red cabbage
I do a 2-hour soak for pale blue, and overnight in the fridge for deeper denim.
On brown eggs, it often looks slate or dusty teal.
Yellow: turmeric
Turmeric is fast, and it stains.
I get a solid yellow in 10–20 minutes, and it goes mustardy on brown eggs.
Orange to copper: onion skins
This is the strongest natural dye I use.
A 30–60 minute soak gives warm amber, and overnight can get deep rusty tones.
Pink: beets
Beets start blush.
Overnight turns them into a deeper dusty rose, not a bright cartoon pink.
Purple: blueberries
Blueberries give me a speckled purple that hides fingerprints, which is a gift with toddlers.
I plan on at least 2 hours for anything you can actually see.
Green without spinach disappointment
Spinach tends to be faint.
My favorite green hack is layering: turmeric first, dry, then cabbage.
Easy botanical prints
Press a small leaf (parsley, dill, a fern) onto the egg.
Wrap it tightly in cheesecloth, then dye as usual.
Want a Shortcut? Try This Store-Bought Natural Easter Egg Dye
This is the one store-bought kit I’m comfortable recommending based on full ingredient disclosure.
The product page lists the dye sources as spinach extract, purple carrot extract, turmeric extract, beet extract, and red cabbage extract.
Natural Earth Paint Natural Egg Dye Kit (powder packets)

It’s simple to use.
Their directions say to mix a packet with 1/2 cup hot water and soak eggs for 10–20 minutes, and they note you don’t need vinegar or boiling.
You may also find these Posts helpful


Easter Egg Dyeing Traditions Around the World
There’s something almost sacred about coloring eggs with your hands. It isn’t just about making something pretty. It’s about slowing down, being intentional, and connecting with a tradition that existed long before store-bought dye kits.
Decorated eggs have been part of spring celebrations for centuries across many cultures.
🌎 Around the World
In Eastern Europe, natural Easter egg dyeing has deep roots. Families traditionally used onion skins to create rich amber tones and wrapped herbs or leaves around eggs to form delicate patterns.
Ukrainian pysanky are probably the most famous example. These intricate eggs are decorated using beeswax and layered dyes, turning each egg into a tiny piece of storytelling through color and symbols.
In Greece, eggs are traditionally dyed a deep red using onion skins or madder root. The red color symbolizes rebirth and renewal, and families play a game called tsougrisma, where two people tap eggs together to see whose shell stays intact.
In Germany and Austria, dyed eggs are often hung on branches to create Easter trees. The display celebrates spring, new life, and the beauty of the season.

🌺 Natural Dye Inspiration from Hawai‘i
While Easter egg dyeing isn’t native to Hawaiian culture, Hawai‘i has a long history of plant-based dye traditions.
Native Hawaiians used natural materials like ʻōlena (Hawaiian turmeric), kukui bark, and pōpolo berries to dye kapa cloth and woven goods long before synthetic dyes existed.
You can take inspiration from this idea by experimenting with local plants when making your egg dyes. Turmeric root, hibiscus flowers, or even steeped ʻōlena tea can create beautiful natural tones.
It’s a small way to connect your Easter tradition with the place you live.
🥚 A Tradition Worth Passing On
Natural egg dyeing slows things down in the best way.
When you tell your kids that cabbage can turn an egg blue or that onion skins create copper swirls, it turns a simple craft into a little moment of wonder.
And that’s the kind of tradition worth passing on.
Some frequently asked Questions about Non-Toxic Easter Egg Dyes
Non-Toxic Easter Egg Dyes = More Peace of Mind in Your Kitchen
This is why I keep coming back to natural dyes.
The vibe is calmer, the mess feels lower-stakes, and I’m not policing every finger that touches the eggs.
Also, the colors are genuinely pretty.
They look like spring, not like a cartoon.
You may also find these Posts helpful
References:
FDA — How Safe are Color Additives?
https://www.fda.gov/consumers/consumer-updates/how-safe-are-color-additives
FDA — Color Additives in Foods
https://www.fda.gov/food/color-additives-information-consumers/color-additives-foods
FDA — Color Additives Questions and Answers for Consumers
https://www.fda.gov/food/color-additives-information-consumers/color-additives-questions-and-answers-consumers
FDA — What You Need to Know About Egg Safety
https://www.fda.gov/food/buy-store-serve-safe-food/what-you-need-know-about-egg-safety
FDA — HHS, FDA to Phase Out Petroleum-Based Synthetic Dyes in Nation’s Food Supply (press release)
https://www.fda.gov/news-events/press-announcements/hhs-fda-phase-out-petroleum-based-synthetic-dyes-nations-food-supply
FDA — Tracking Food Industry Pledges to Remove Petroleum Based Food Dyes
https://www.fda.gov/food/color-additives-information-consumers/tracking-food-industry-pledges-remove-petroleum-based-food-dyes
FDA — FDA to Revoke Authorization for the Use of Red No. 3 in Food and Ingested Drugs (Jan 15, 2025)
https://www.fda.gov/food/hfp-constituent-updates/fda-revoke-authorization-use-red-no-3-food-and-ingested-drugs
OEHHA (California EPA) — Food Dyes Health Effects Assessment (Apr 16, 2021 PDF)
https://oehha.ca.gov/sites/default/files/media/downloads/risk-assessment/report/healthefftsassess041621.pdf
Miller et al. (2022) — Potential impacts of synthetic food dyes on activity and attention in children (review, PMC)
https://pmc.ncbi.nlm.nih.gov/articles/PMC9052604/
McCann et al. (2007) — Food additives and hyperactive behaviour… (trial abstract, PubMed)
https://pubmed.ncbi.nlm.nih.gov/17825405/
EFSA — EFSA evaluates Southampton study on food additives and child behaviour
https://www.efsa.europa.eu/en/news/efsa-evaluates-southampton-study-food-additives-and-child-behaviour
USDA — Egg Grading Manual (Eggshell composition, PDF)
https://www.ams.usda.gov/sites/default/files/EggGradingManual.pdf
USDA FSIS — Shell Eggs from Farm to Table (hard-cooked eggs: refrigerate within 2 hours; use within a week)
https://www.fsis.usda.gov/food-safety/safe-food-handling-and-preparation/eggs/shell-eggs-farm-table
NOAA — Vinegar and eggshell (acetic acid + calcium carbonate reaction)
https://sos.noaa.gov/education/phenomenon-based-learning/vinegar-eggshells-and-ocean-acidification/
Science Buddies — Red cabbage anthocyanins and pH color shifts
https://www.sciencebuddies.org/science-fair-projects/project-ideas/Chem_p013/chemistry/make-cabbage-pH-indicator
FTC — Environmental Claims: Summary of the Green Guides (Non-Toxic claims)
https://www.ftc.gov/business-guidance/resources/environmental-claims-summary-green-guides
ACMI — ACMI Seals (AP Seal meaning)
https://www.acmiart.org/acmi-seals